Cold brew has taken the coffee world by storm, and for good reason. This brewing method yields a remarkably smooth, low-acid, and naturally sweet coffee concentrate that’s incredibly versatile. Unlike traditional iced coffee, which is hot coffee poured over ice and often tastes watered down, cold brew is steeped in cold water for an extended period, extracting a different chemical profile from the beans. The result is a richer, less bitter, and often more flavorful experience.
If you’re tired of acidic iced coffee or simply want to master a refreshing new brewing technique, this ultimate guide will walk you through everything you need to know to make perfect cold brew concentrate right in your own kitchen.
The Rise and Importance of Cold Brew
While cold brew might seem like a modern trend, the concept of steeping coffee in cold water dates back centuries, with origins often traced to 17th-century Japan. However, its widespread popularity in the Western world is a more recent phenomenon, driven by a growing appreciation for nuanced coffee flavors and a demand for less acidic, more refreshing coffee options.
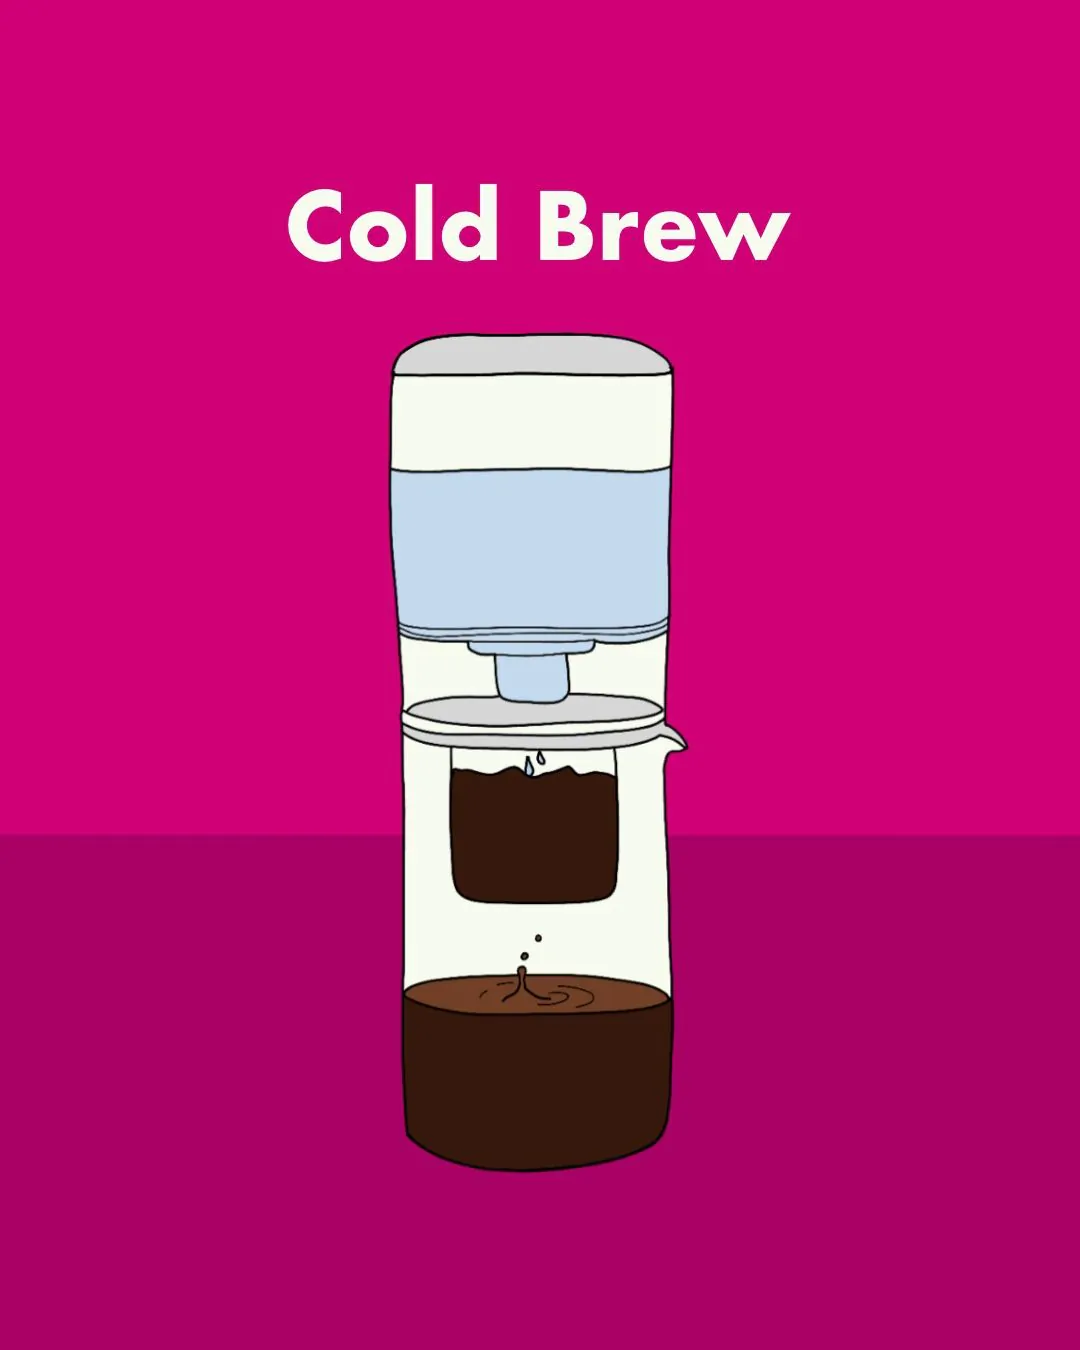
The importance of cold brew lies in its unique extraction process. By using cold water over an extended period (12-24 hours), the coffee grounds release their flavors and caffeine without the intense heat that can bring out bitter acids and oils. This results in a coffee concentrate that is:
- Low Acid: Easier on the stomach for many people.
- Naturally Sweet: Many of the sweeter notes in the coffee are preserved and enhanced.
- Smooth and Mellow: A rich, chocolatey, or nutty profile often emerges.
- Highly Concentrated: This means it can be diluted to taste, making it incredibly versatile for various drinks.
- Convenient: Once made, it lasts for up to two weeks in the fridge, offering grab-and-go coffee without daily brewing.
Cold brew has carved out its own significant niche, offering a distinct and highly enjoyable coffee experience that complements, rather than replaces, traditional hot brewing methods.
What You’ll Need
- Freshly Roasted Coffee Beans: A coarser grind is key for cold brew. Medium to dark roasts often shine here, bringing out chocolatey or nutty notes.
- A Burr Grinder: Essential for achieving the correct coarse grind.
- Filtered Water: As always, good water makes good coffee.
- A Large Container for Steeping: A pitcher, mason jar, or a dedicated cold brew maker will work.
- A Fine Mesh Strainer: For the initial separation of grounds.
- Cheesecloth, Nut Milk Bag, or Paper Filters: For a second, finer filtration.
- Storage Container: An airtight jar or bottle for your finished concentrate.
- A Digital Scale (Recommended): For precise coffee and water measurements.
The Recipe (For a 1:8 Coffee-to-Water Ratio Concentrate)
- Coffee-to-Water Ratio: 1:8 (e.g., 100g coffee to 800ml water for a small batch). This is a strong concentrate you’ll dilute later.
- Grind Size: Very coarse, similar to breadcrumbs or cracked pepper.
- Steep Time: 12-24 hours (in the refrigerator).
The Ultimate Guide to Cold Brew: Step-by-Step
Step 1: Grind Your Coffee
- Weigh out your whole coffee beans (e.g., 100 grams for a smaller batch, 200g for a larger pitcher).
- Grind the coffee very coarsely. This is crucial! A fine grind will lead to over-extraction, bitterness, and difficulty filtering. It should look like coarse sea salt or even small pebbles.
Step 2: Combine Coffee and Water
- Place your coarsely ground coffee into your steeping container (pitcher, jar, etc.).
- Pour cold, filtered water over the grounds according to your chosen ratio (e.g., 800ml for 100g coffee).
- Gently stir the mixture to ensure all the coffee grounds are thoroughly saturated. This prevents dry spots and promotes even extraction.
Step 3: Steep
- Cover the container and place it in the refrigerator.
- Let it steep for 12-24 hours. A good starting point is 18 hours. Shorter times (12-15 hours) will result in a lighter concentrate, while longer times (20-24 hours) will yield a stronger, more intense flavor. Experiment to find your sweet spot!
Step 4: Primary Filtration
- Once the steeping is complete, line a fine-mesh strainer with cheesecloth (several layers), a clean nut milk bag, or a large paper coffee filter. Place this setup over a clean pitcher or bowl.
- Slowly pour the cold brew mixture through the lined strainer. Allow it to drip naturally; avoid pressing or squeezing the grounds, as this can force fine particles and bitterness into your concentrate. This first pass removes the majority of the coffee grounds.
Step 5: Secondary Filtration (Optional, for extra clarity)
- For an even smoother, sediment-free concentrate, perform a second filtration. Rinse your strainer and line it with a fresh piece of cheesecloth or a paper filter (Chemex or V60 filters work well for this, but will take longer).
- Slowly pour the already-strained cold brew through this finer filter. This step is optional but highly recommended for the clearest possible cold brew.
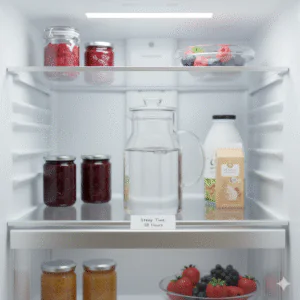
Step 6: Store and Enjoy
- Transfer your finished cold brew concentrate into an airtight container or bottle.
- Store it in the refrigerator. It will stay fresh for up to two weeks.
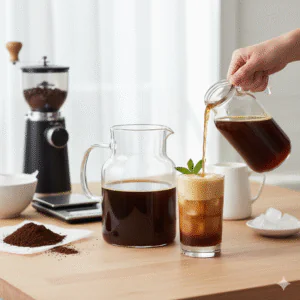
Serving Your Cold Brew Concentrate
Since cold brew is a concentrate, it’s meant to be diluted. A good starting ratio is 1:1, meaning equal parts cold brew concentrate and water (or milk, or a combination).
- Classic Iced Coffee: Fill a glass with ice, add equal parts cold brew concentrate and cold water. Adjust to taste.
- With Milk: Mix concentrate with your favorite milk or creamer.
- Experiment: Try it in cocktails, smoothies, or even as a base for desserts.
Tips for the Best Cold Brew
- Don’t Over-Steep: While longer steep times can create stronger concentrate, going beyond 24 hours can start to introduce undesirable flavors and bitterness.
- Cleanliness is Key: Ensure all your equipment is spotless to prevent off-flavors.
- Experiment with Beans: Different roasts and origins will produce very different cold brew profiles. A darker roast might yield chocolatey notes, while a medium roast could bring out fruitier flavors.
- Adjust Dilution: The beauty of concentrate is its flexibility. Don’t be afraid to play with your dilution ratio to find what you like best.
Making cold brew at home is a rewarding process that unlocks a new dimension of coffee enjoyment. With a little patience, you’ll be sipping on perfectly smooth, refreshing coffee whenever the craving strikes!
Recommended YouTube Video:
For a comprehensive visual guide to making cold brew, check out this video:
https://youtu.be/v_qHWgmsPrw?si=o3ND6WXYCC8FzlYh